Showing posts with label Baby Blanket. Show all posts

Monday, February 1, 2021

Tutti Frutti Yarn - Out of Hibernation!!

This spiral pattern totally struck my fancy - so much so that I bought the pattern not having made so much as a single Tunisian crochet stitch in my life! The pattern mentioned that I could start the project with the hooks I already had. So I picked up a ball of my yarn (one of 4 balls that I'd ordered back in 2018), printed the pattern and settled in my chaise, ready to make progress!!

When I was done with the base rectangle, it looked really good - exactly like the knit stockinette stitch. Then I looked at the project photos. Different! After a quick google search I learnt that I'd made a mistake and unknowingly  created a different Tunisian crochet stitch LOL. So I frogged and re-did the base.

The first corner also took me one round of make-frog-make to get right. But that's only me Tunisian crochet-ing for the very first time. This is how far I've gotten, slow and steady, ya!


Tuesday, March 19, 2013

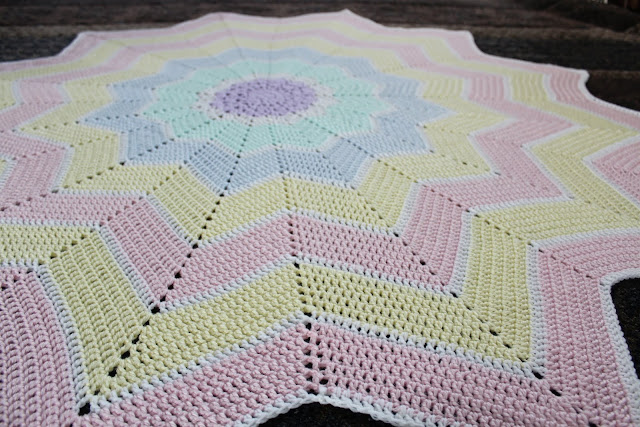
Rainbow ripple cuteness!

Not much to say here, but look -


I love love love it.

The pattern is from here, very well written. 

Monday, February 4, 2013

Basket weave baby blanket

Even yarn has destiny, that is how this uber-soft lion brand homespun came to be a basket weave baby blanket.

First (in the days when I lacked crochet-ambition ;)) it started as a living room throw, a plain double crochet rectangle. That was unraveled and an attempt was made to have it become a basket weave living room throw. Less than halfway through, the dimensions seemed perfect for it to stop short and be a baby blanket :)

Here it is - a 45 x 30 inch basket weave blanket for my baby


This is a 4x4 basket weave (meaning 4 front and back post DC stitches each), so basically you begin with a multiple of 4 for the foundation chain. For row1 you turn, 2DC (counts as first DC), and a DC in each foundation chain stitch. Now the basket weave begins - 2DC, then 4 FPDC followed by 4 BPDC. (slightly modified version of the row by row instructions found here.)

The border is 5 rows of single crochet in back loops only - that is what creates the 5 lines instead of the regular SC weave.


Sunday, January 27, 2013

In preparation...

Well, first I over-thought it to death!!
What all will we need to buy?
How much/how many?
What brand?

A stroller  a car-seat and a crib/place to sleep are the standard items on any parent to be's list and I have Jatan's brain to pick on those. What was overwhelming me was the DIY list (receiving blankets/burp rags/onesies/whatnots) that all those blogs recommended.

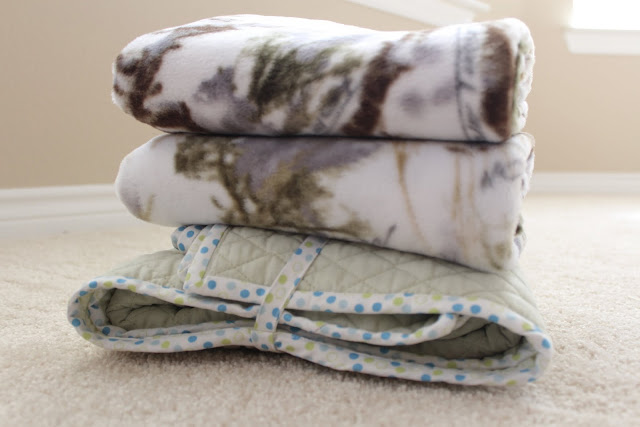
So for starters, I closed the 18 browser tabs that I'd read umpteen times and went through my stash of remnants and my unfinished projects. Found a piece of cozy fleece that made two baby blankets, and a piece of quilted cotton (with the batting sewn right in) that made a play mat!!

I hadn't sewn seams on fleece before, and this one got all stretchy when I turned the edges. So I undid the straight stitch and used the overlock on my machine instead. That has some give and the thread won't snap when the fabric stretches. Then ten minutes it in the dryer on the refresh cycle straightened up the edges. I also bound the quilted cotton with some bias tape I'd made  before. Two projects down, hurrah for the remnant bin!


That was a good start and I'm not going to let those lists overwhelm me.

Next, I am going to complete the basket weave blanket I'd started eons ago - only now, its going to be baby sized ;)

Wednesday, June 13, 2012

I made a quilt!!

Well, sorta!!

I wanted to make a simple gift for my sister in law's son for when they visit in July. Something that can be his for some time to come, so decided on a small blanket. When I walked into Joann's I did not have any specifics in mind except soft & huggable :)

Spent some time browsing the flannel/fleece section and decided on this this print -


The "quilt" look without having to sew pieces together!! (the picture above mutes the colors a little, they are much brighter to look at!)

For the backing, I wanted something equally soft so I picked up a co-ordinating piece of butter-yellow fleece.

Keeping in mind the difference in width (fleece is 60 inches, where as flannel is 42) I purchased a yard of the fleece and two of the flannel.

Pre washed them both because the two fabrics shrink very very very differently. Next I pinned the right sides together (the selvedge of the flannel lined up with the width of the fleece) and sewed the border all the way,  leaving a small opening for turning. Clipped corners and turned. Then top-stitched and quilted the two layers using the straight printed lines as guides. One super-cute blanket!!

As a last personal & personal-izing touch I cut out his name in felt and now the quilt is officially his!!


You may also like -